How to Use Qwen for Image Editing in ComfyUI
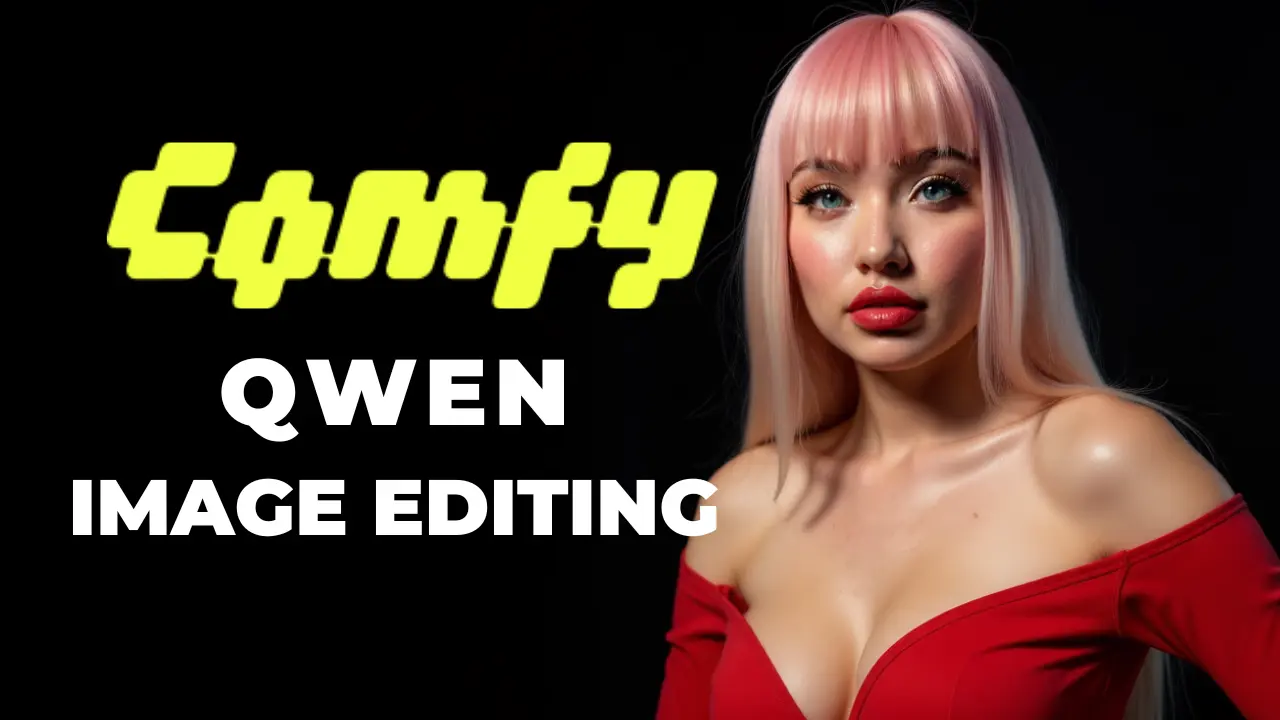
Table of Contents
1. Introduction
Qwen has quickly become a powerful tool for image editing in ComfyUI, offering flexible control and fast performance. Using the FP8 or GGUF Qwen models, along with Lightning LoRA for accelerated rendering, Qwen is a strong contender to the Flux Kontext Image Model. It is especially good at handling text in images, making it ideal for projects that require precise modifications. Qwen-Image-Edit is released under the Apache-2.0 license, meaning it can be used commercially, as long as proper attribution is given. In this guide, we’ll show you what to download and provide ready-to-use workflows, so you can start editing your images and modify, replace, or refine elements with ease.
2. Requirements for running Qwen Image Editing
Before diving into image editing, ensure your system meets the hardware and software requirements to run the Qwen Image Editing FP8 workflow smoothly. This setup still requires a solid GPU — we recommend at least an RTX 4090 (24GB VRAM) or using a cloud GPU service like RunPod.
Later in this tutorial, we’ll provide a GGUF workflow version suitable for lower VRAM systems, so you can also use Qwen Image Editing without a high-end GPU.
Requirement 1: Install ComfyUI
To get started, you need ComfyUI installed locally or via cloud. For local Windows setup, follow this guide:
👉 How to Install ComfyUI Locally on Windows
Once installed, make sure to update ComfyUI to the latest version by opening the Manager tab in the interface and clicking Update ComfyUI. Keeping it up to date ensures compatibility with the latest workflows and features.
If you don’t have a high-end GPU locally, consider running ComfyUI on RunPod with a network volume for persistent storage:
👉 How to Run ComfyUI on RunPod with Network Volume
Requirement 2: Update ComfyUI
To ensure full compatibility with the Wan2.2 GGUF models, make sure your ComfyUI installation is up to date.
For Windows Portable Users (Local)
-
Open the folder: ...\ComfyUI_windows_portable\update
-
Double-click: update_comfyui.bat.
For Runpod Users:
From the RunPod terminal, run the following command line in your terminal:
ts1
2cd /workspace/ComfyUI && git pull origin master && pip install -r requirements.txt && cd /workspace
Keeping ComfyUI updated guarantees you have the latest features and nodes, bug fixes and compatibility improvements.
Requirement 3: Download Qwen FP8 Model Files
Download the following models and place them in the correct ComfyUI folders:
| File Name | Hugging Face Download Page | File Directory |
|---|---|---|
| qwen_image_edit_fp8_e4m3fn.safetensors | 🤗 Download | ..\ComfyUI\models\diffusion_models |
| Qwen-Image-Edit-Lightning-8steps-V1.0.safetensors | 🤗 Download | ..\ComfyUI\models\loras |
| qwen_image_vae.safetensors | 🤗 Download | ..\ComfyUI\models\vae |
| qwen_2.5_vl_7b_fp8_scaled.safetensors | 🤗 Download | ..\ComfyUI\models\text_encoders |
Requirement 4: Verify Folder Structure
Confirm that your folders and files look like this:
ts1📂 ComfyUI/
2├── 📂 models/
3│   ├── 📂 diffusion_models/
4│   │   └── qwen_image_edit_fp8_e4m3fn.safetensors
5│   ├── 📂 loras/
6│   │   └── Qwen-Image-Edit-Lightning-8steps-V1.0.safetensors
7│   ├── 📂 vae/
8│   │   └── qwen_image_vae.safetensors
9│   └── 📂 text_encoders/
10│       └── qwen_2.5_vl_7b_fp8_scaled.safetensors
Once everything is installed and organized, you’re ready to download and load the Qwen Image Editing FP8 workflow and start editing images efficiently. Thanks to the Qwen Image Edit Lightning LoRA, edits can be applied in just 8 total steps, making the workflow both fast and precise while maintaining high-quality results.
3. Load the Qwen Image Editing FP8 Workflow for ComfyUI
With the requirements in place, the next step is to download and load the Qwen Image Editing FP8 Lightning Workflow into ComfyUI. This workflow is essential for configuring the model and ensuring it operates correctly.
Step 1: Download the Workflow File
Begin by downloading the workflow file specifically designed for the Qwen FP8 model. This file contains all the necessary configurations and settings required for the model to function properly. You can find the download link below:
👉 Download Qwen Image Editing FP8 Lightning LoRA Workflow JSON
Step 2: Load the Workflow in ComfyUI
Once you’ve downloaded the workflow file, launch ComfyUI and simply drag and drop the JSON file onto the canvas to load the full setup. This action will prepare the environment for working with the Qwen FP8 model.

💡 Reminder:
If you see any red nodes in the workflow, it means some custom nodes are missing. To fix this:
-
Open the Manager tab in ComfyUI.
-
Click Install Missing Custom Nodes and install all missing custom nodes.
-
After installation, restart ComfyUI.
This ensures the workflow runs smoothly and all nodes function correctly.
4. Running Your First Qwen Image Edit
Now that the workflow is ready, let’s perform our first image edit using Qwen. We’ll start with an example image and walk through the basic steps to apply edits quickly and easily.
Step 1: Load the Image
Upload the image you would like to edit. We’ll use this as our starting example:

Step 2: Add a Prompt
Before typing your prompt, first decide what elements of the image you want to keep the same and what you want to change.
For example, if you want to change only the hairstyle, you might structure your prompt like this:
Keep all facial features, eye color, body proportions, pose, outfit, lighting, and background the same. Change hairstyle to a twin-tails updo with pink-blonde gradient color, high on both sides, smooth and slightly curled at the ends. Preserve photorealistic style, soft natural sunlight, and cinematic Vogue-style lighting.
This approach ensures the character remains consistent while the desired edits are applied.
Step 3: Adjust Image Size & Update Settings
-
Select your preferred resolution. Common sizes work fine, but adjust depending on your desired output.
-
You can also select a ratio from the dropdown menu, which will automatically adjust the width and height for you.
KSampler Settings:
-
Steps: 8
-
CFG: 1
-
Sampler: Euler
-
Scheduler: Simple
Step 4: Run the Workflow
Click Run to apply your edits. Once the process is finished, review the resulting image. You can adjust the prompt or modify the settings as needed, then run the workflow again to refine the output. Using our initial image and the example prompt above, we get the following result:
 Prompt: Keep all facial features, eye color, body proportions, pose, lighting, and background the same. Change hairstyle to a twin-tails updo with pink-blonde gradient color, high on both sides, smooth and sleek with slight curls at the ends.
Next, we’ll explore several more examples to demonstrate the variety of image edits you can achieve with Qwen, including style transformations, object replacements, and text additions.
5. Example of Qwen Image Editing Generations
Now that we’ve completed our first edit, let’s explore several examples to see how Qwen can transform your images.
Example 1: Outfit Changes
 Prompt: Keep all facial features, body proportions, pose, hairstyle, background, eye color, and lighting the same. Change the outfit to a modern edgy schoolgirl style. She is wearing a cropped blouse with a plunging neckline revealing cleavage, black pleated mini skirt, garter straps or thigh-high stockings, in dark or neutral tones. Maintain photorealistic detail and cinematic high-fashion lighting.
Example 2: Close-Up Expression – Smiling
 Prompt: Keep all facial features, body proportions, hairstyle, outfit, background, eye color, and lighting the same. Change the framing to a close-up of her face and upper shoulders. Adjust the expression to a very big, joyful smile with wide, sparkling icy blue eyes making direct eye contact with the viewer. Maintain photorealistic detail, soft cinematic Vogue-style lighting, and high-fashion editorial aesthetic.
Example 3: Pose Changes
 Prompt: Keep all facial features, body proportions, hairstyle, outfit, background, eye color, and lighting the same. Change her pose to X.
Example 4: Background Change
 Prompt: Keep all facial features, body proportions, hairstyle, outfit, and eye color the same. Change the background to a penthouse pool room with floor-to-ceiling windows, soft sunlight streaming in, and polished marble interiors. Pose her partially in the pool or leaning on the edge, torso slightly angled, head turned toward the viewer. Eyes remain icy blue and expressive. Preserve photorealistic detail and cinematic high-fashion lighting.
Example 5: Style Change - Anime
 Prompt: Keep all facial features, icy blue eyes, pink-blonde sleek hair with blunt bangs, and pale glowing skin the same. Change the style to modern high-quality anime art with smooth digital shading, glowing highlights, and vibrant tones. Make it a close-up portrait, waist-up framing, with expressive icy blue eyes locking onto the viewer and a sensual, inviting smile. Emphasize cleavage with a revealing anime-style top, designed tastefully to fit the character. Use soft glowing light and subtle blush tones for a seductive anime aesthetic.
Example 5: Adding Text
 ✨ With a little imagination, you can animate the journey from the first frame (our starting image) to the final frame (the iPhone “I Love You <3” reveal). Using the WAN 2.2 First–Last Frame Workflow you can bring this transition to life with smooth cinematic motion:
Check out our full First-Last Frame Wan2.2 animation tutorial here 👉 WAN 2.2 First-Last Frame Video Generation in ComfyUI
6. BONUS: Qwen Image Editing GGUF Workflow
For users operating in low-VRAM environments, the GGUF variant of the Qwen Image Editing model offers a viable alternative.
Qwen Image Editing GGUF Workflow
For running locally without a high-end GPU, the main difference is that instead of the FP8 diffusion model, you’ll need the Qwen_Image_Edit-Q3_K_S.gguf or any other GGUF model that fits your VRAM. You can see the list of available GGUF model downloads here: 👉 Qwen Image Edits GGUF model versions on Hugging Face
That’s the only extra requirement for this workflow—everything else stays the same. You’ll still use (You can find the downloads in Section 2):
-
Qwen-Image Lightning LoRA for fast image editing
-
VAE for decoding
-
Clip/Text Encoder for prompt processing
Verify Folder Structure
ts1📂 ComfyUI/
2├── 📂 models/
3│   ├── 📂 diffusion_models/
4│   │   └── Qwen_Image_Edit-Q3_K_S.gguf # GGUF diffusion model
5│   ├── 📂 loras/
6│   │   └── Qwen-Image-Edit-Lightning-8steps-V1.0.safetensors
7│   ├── 📂 vae/
8│   │   └── qwen_image_vae.safetensors
9│   └── 📂 text_encoders/
10│       └── qwen_2.5_vl_7b_fp8_scaled.safetensors
Once this GGUF model is in place, you’re ready to run the Qwen Image Editing workflow entirely on your local machine, no cloud service needed.
Step 1: Download the Workflow File
Begin by downloading the workflow file specifically designed for the Qwen GGUF model. This file contains all the necessary configurations and settings required for the model to function properly. You can find the download link below:
👉 Download Qwen Image Editing GGUF Lightning LoRA Workflow JSON
Step 2: Load the Workflow in ComfyUI
Once you’ve downloaded the workflow file, launch ComfyUI and drag and drop the JSON file onto the canvas to load the full setup. This action will prepare the environment for working with the Qwen GGUF model locally.
 With the GGUF workflow set up, you’re all ready to start generating your own edits locally!
7. Conclusion
This tutorial has guided you through using the Qwen Image Editing model with both the FP8 and GGUF formats in ComfyUI, integrating Lightning LoRA for efficient, high-quality image generation. For users with high-end GPUs, we recommend services like RunPod to fully leverage the FP8 model’s capabilities. Meanwhile, the GGUF variant provides a practical alternative for users with lower VRAM, allowing you to run the workflow locally without sacrificing quality.
Looking to combine multiple images? We’ve got an article and a Qwen Multi Image Edit 2509 workflow for that. It’s powered by the new Qwen Image 2509 model, so check it out below.
👉 How to Use Qwen Multi-Image Edit 2509 in ComfyUI
We hope this guide has empowered you to explore the full potential of Qwen Image Editing in ComfyUI. Keep experimenting with styles, edits, and workflows, and take your creative projects to the next level.


