FlashVSR: High-Quality Video Upscaling in ComfyUI
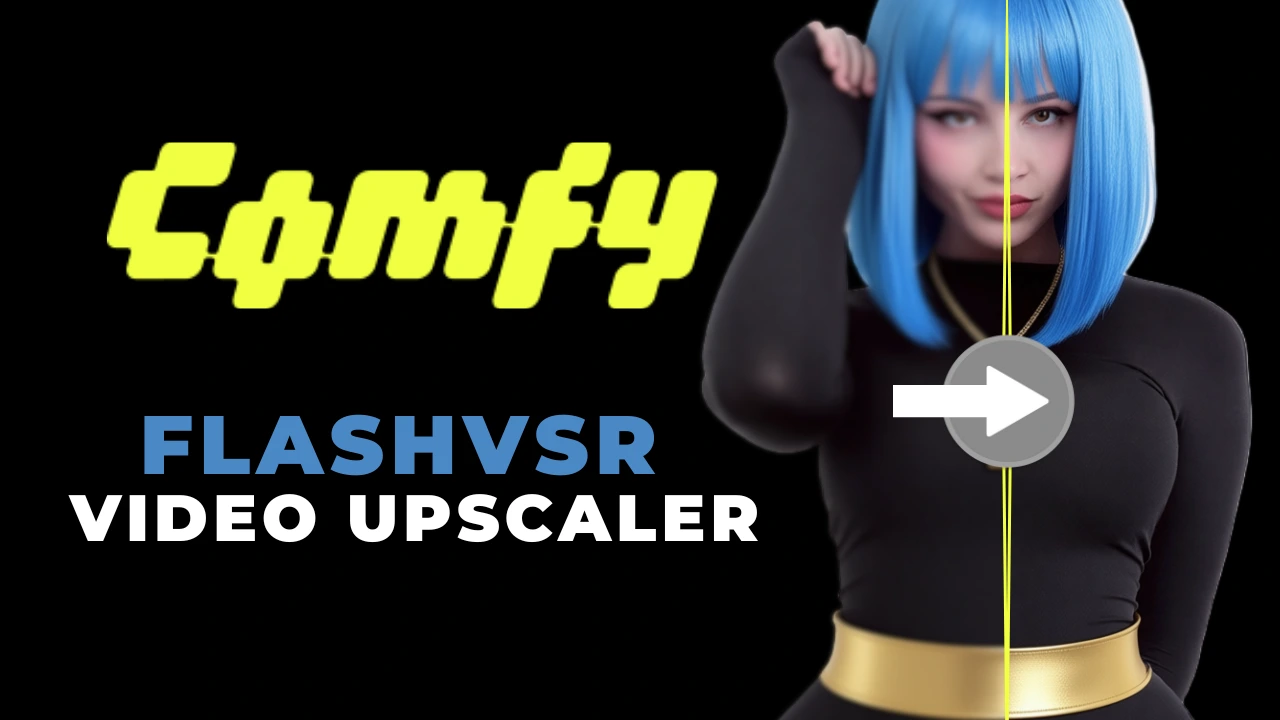
Table of Contents
1. Introduction
In the world of video production, achieving high-quality visuals is paramount. Enter FlashVSR, a cutting-edge video super-resolution (VSR) model designed specifically for high-quality video upscaling within ComfyUI. This powerful tool allows users to upscale video footage to stunning resolutions such as Full HD (1080p), 2K, or even 4K, ensuring that every frame is filled with crisp detail and smooth motion. Unlike traditional frame-by-frame upscalers that often lead to flickering and inconsistent motion, FlashVSR is engineered to maintain temporal stability, providing a seamless viewing experience.
Key Features of FlashVSR:
-
High-Quality Upscaling: FlashVSR can upscale videos to Full HD, 2K, or 4K with realistic detail, making it ideal for both casual users and professionals.
-
Seamless Integration: The model integrates directly into ComfyUI, allowing for a straightforward workflow that minimizes setup time.
-
Automatic Model Downloads: FlashVSR automatically downloads the necessary models from Hugging Face, simplifying the installation process.
-
Multiple Model Sizes: Users can choose from various model sizes tailored to different hardware setups, ensuring optimal performance regardless of the system specifications.
In this tutorial, we will guide you through the process of setting up FlashVSR in ComfyUI, configuring the workflow, and optimizing performance for the best results. Whether you're looking to enhance old footage or create cinematic-quality videos, FlashVSR is your go-to solution for high-quality video upscaling.
2. Requirements for FlashVSR in ComfyUI
Before diving into the installation of FlashVSR, it’s crucial to ensure that your system meets the necessary requirements for optimal performance. Here’s what you need to have in place:
Essential Requirements:
-
ComfyUI Installed and Running: Ensure that you have the latest version of ComfyUI installed on your system. This is the platform where FlashVSR will operate.
-
Model Downloads: The FlashVSR models will download automatically the first time you run the node.
If you’d rather do it manually, grab them from the Hugging Face FlashVSR Model page and place them in:
../ComfyUI/models/FlashVSR
Available Model Variants:
| Model Version | Description | VRAM Usage | Speed | Ideal For |
|---|---|---|---|---|
| Full (Best Quality) | Produces the highest fidelity and sharpness for professional work. | High | Moderate | Users with high-end GPUs (24GB+ VRAM). |
| Tiny (Fast) | Balanced speed and quality. Great for quick processing. | Medium | Fast | Most users and mid-range GPUs. |
| Tiny Long (Low VRAM) | Designed for long videos or low-VRAM systems. | Low | Slower | Laptops or older GPUs. |
💡 Tip: For even faster rendering, try running ComfyUI with Sage Attention enabled on a high-end GPU via RunPod. Using our Next Diffusion - ComfyUI SageAttention Template can boost FlashVSR performance by 20–30%. You can follow this setup in our full guide here: 👉 Run ComfyUI with Sage Attention on RunPod (Network Volume Setup)
3. Installing FlashVSR in ComfyUI
Installing FlashVSR in ComfyUI is quick and easy through the built-in Node Manager. This method automatically handles setup and dependencies, so you can start using FlashVSR right away.
-
Open ComfyUI.
Launch the ComfyUI application on your system. -
Access the Node Manager.
Click the “Manager” button in the sidebar. -
Install the Custom Node.
Select “Install Custom Nodes” from the menu. -
Search for FlashVSR.
In the search bar, type “ComfyUI-FlashVSR” and select it from the results. -
Install and Restart.

Click “Install”, select version 1.0.0 (do not use the Nightly version, as it may cause errors), then restart ComfyUI. -
Ensure you have the latest version of the ComfyUI-VideoHelperSuite custom node installed — it’s required for video-related operations, including the Load Video and Video Combiner nodes.
4. Loading and Configuring the FlashVSR Workflow
Once you’ve installed FlashVSR, the next step is to load its workflow in ComfyUI. This workflow streamlines the process by preloading all the necessary nodes and connections, allowing you to enhance and upscale videos or frames quickly and efficiently.
Step 1: Download the Workflow File
Start by downloading the JSON workflow built specifically for FlashVSR.\
This workflow includes all the essential nodes for FlashVSR video enhancement and processing, ensuring an optimized setup right from the start.\
You can find the download link for the FlashVSR workflow in the resources section of this tutorial.
👉 FlashVSR Video Upscaling Workflow JSON
Step 2: Load the Workflow in ComfyUI
After downloading the workflow file, open ComfyUI and drag the FlashVSR JSON file onto the canvas.
 \
\
This will automatically load all the FlashVSR nodes required for video upscaling and enhancement, along with preconfigured connections and default settings — so you can start using FlashVSR right away.
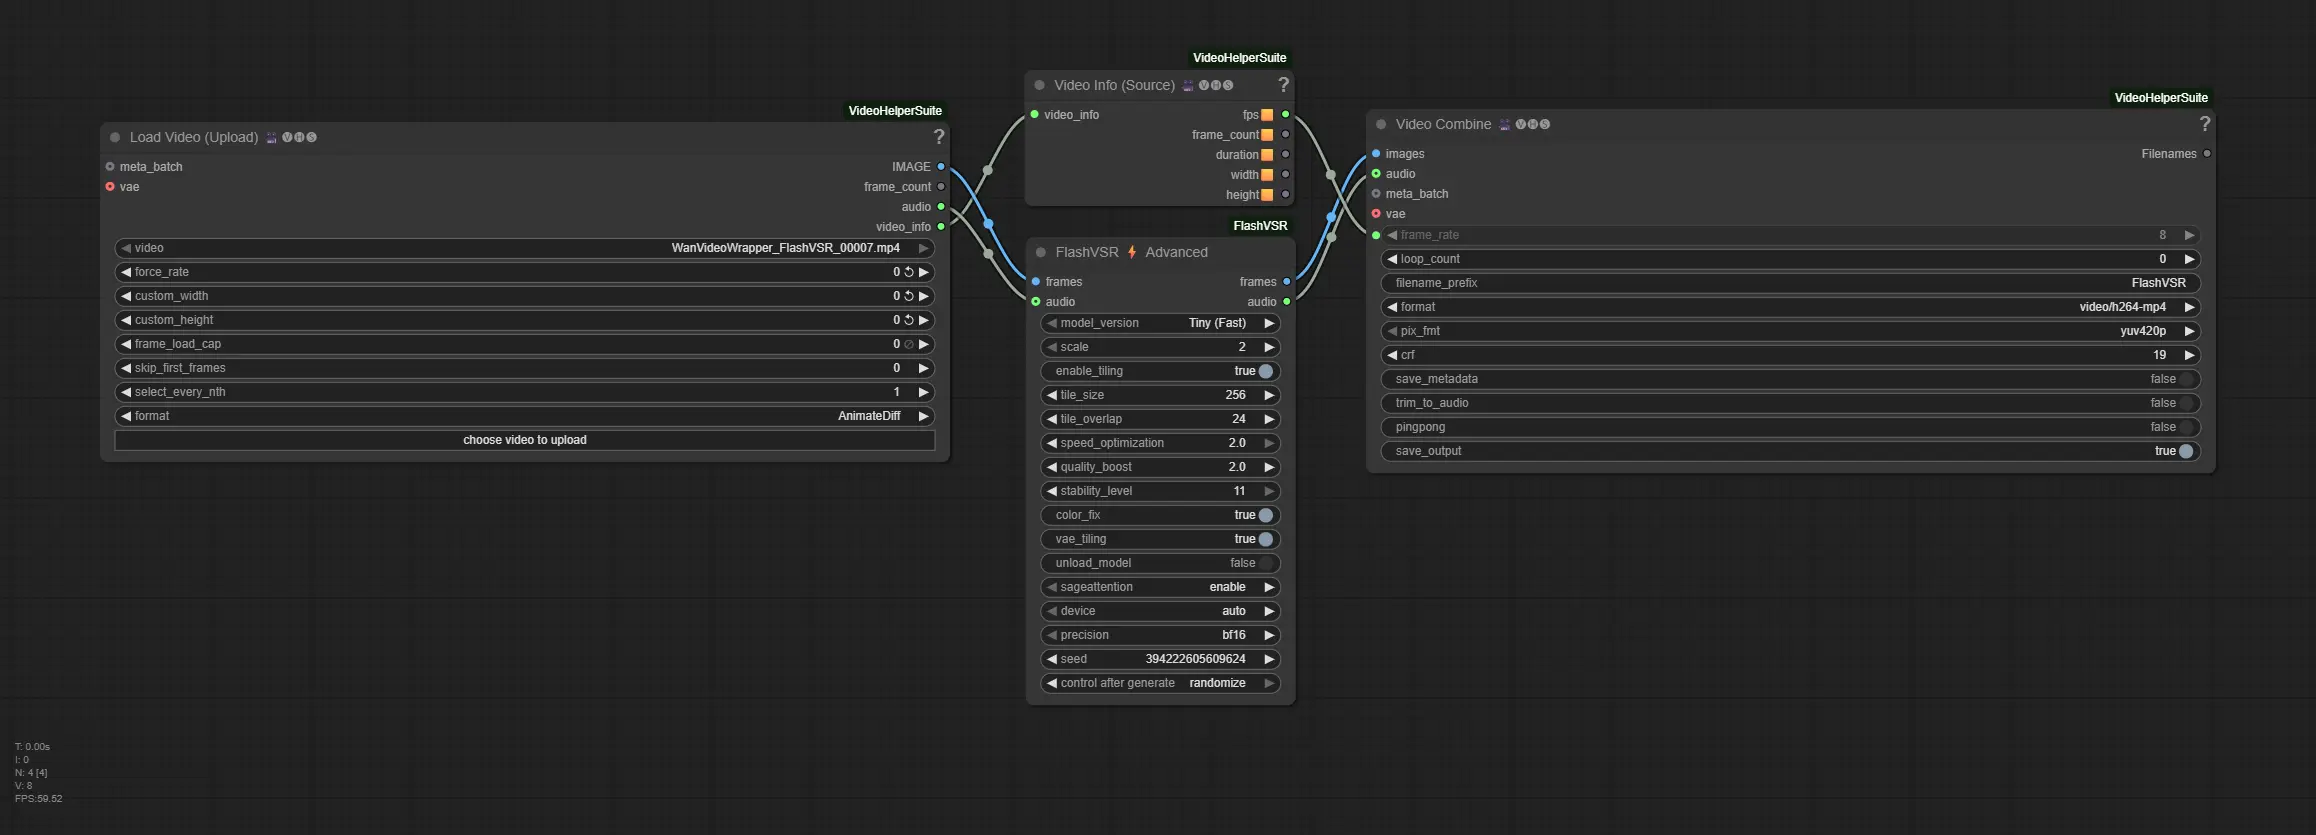
Step 3: Configure the FlashVSR Node
When using FlashVSR Advanced for video upscaling, there are several options that can greatly affect output quality, processing speed, and VRAM usage. Choosing the right settings is crucial, especially for low VRAM GPUs. The table below breaks down each option, provides recommended settings, and includes tips for balancing quality and performance.
| Option | Description | Recommended / Notes |
|---|---|---|
| model_version | Select the model variant to use. | Tiny (Fast) – low VRAM; Tiny Long (Low VRAM) – ideal for constrained VRAM; Full (Best Quality) – highest quality, high VRAM. |
| scale | Output upscaling factor. | 2x – faster, VRAM-friendly; 4x – higher resolution, requires more VRAM. |
| enable_tiling | Breaks video into smaller chunks to reduce VRAM usage. | Enable for low VRAM GPUs, especially with Full model at 4x scale. |
| tile_size | Size of each tile when tiling is enabled. | Default:** 256. Smaller tiles reduce VRAM usage but may slightly slow processing. Increase to 512 or 704 if you have sufficient VRAM to speed up upscaling. |
| tile_overlap | Overlap between tiles to reduce seams. | Default: 24. Higher values (48-64) reduce visible seams but increase VRAM usage. |
| speed_optimization | Adjusts processing speed vs. quality. | Default: 2.0 (max). Lower to 1.5 for better quality. |
| quality_boost | Enhances output quality at cost of VRAM. | Default: 2.0. Can go up to 3.0 with Full model if VRAM allows. |
| stability_level | Controls output smoothness across frames. | Default: 11. Highest value |
| color_fix | Adjusts colors to match original video. | Default: true. Enable to preserve original color fidelity. |
| vae_tiling | Breaks VAE processing into tiles to save VRAM. | Useful for low VRAM setups; default: true. |
| unload_model | Automatically unloads model from VRAM after processing. | Default: false. Enable to free VRAM between videos. |
| sageattention | Optional attention optimization for speed. | Enable for ~20-30% speedup if installed. |
| device | GPU selection for processing. | Default: auto. Use cuda or specific GPU ID if needed. |
| precision | Compute precision. | bf16 recommended for speed with minimal quality loss. |
| seed | Random seed for reproducibility. | Default: random. Use a fixed seed for repeatable results. |
| control_after_generate | Apply control filters after generation. | Default: randomize |
💡 Low VRAM Tips:
-
Model: Use Tiny Long for minimal VRAM usage.
-
Tiling: Enable enable_tiling and vae_tiling to reduce memory load.
-
Scale: Stick to 2x if VRAM is limited.
-
Avoid: Do not use Full model at 4x without sufficient VRAM.
💡 High-Quality / 4K Upscale Tip:
- Use Full model with FP16 precision on a GPU with 24 GB+ VRAM for optimal results.
5. FlashVSR Upscale Examples
Take a look at these FlashVSR upscaling examples, where every frame shines with stunning clarity and detail. Make sure to set the YouTube video to the highest resolution possible to see the difference clearly!
6. Conclusion
In conclusion, FlashVSR is a powerful tool that delivers exceptional video upscaling quality, allowing you to transform standard-definition into stunning Full HD, 2K, or 4K outputs — all directly within ComfyUI. With its multiple model variants, automatic model downloads, intelligent tiling, and SageAttention acceleration, FlashVSR offers both flexibility and performance for creators of all levels.
Whether you’re restoring vintage footage or creating stunning 4K visuals, FlashVSR ensures every frame is rendered with exceptional clarity and precision. By following the steps in this tutorial, you’ll be able to set up and fine-tune your video upscaling workflow with ease—allowing you to produce high-quality videos that fully capture your creative vision. Harness the power of FlashVSR and take your video production to the next level. Happy video upscaling!


