How to Create Stunning Logo Art with Stable Diffusion
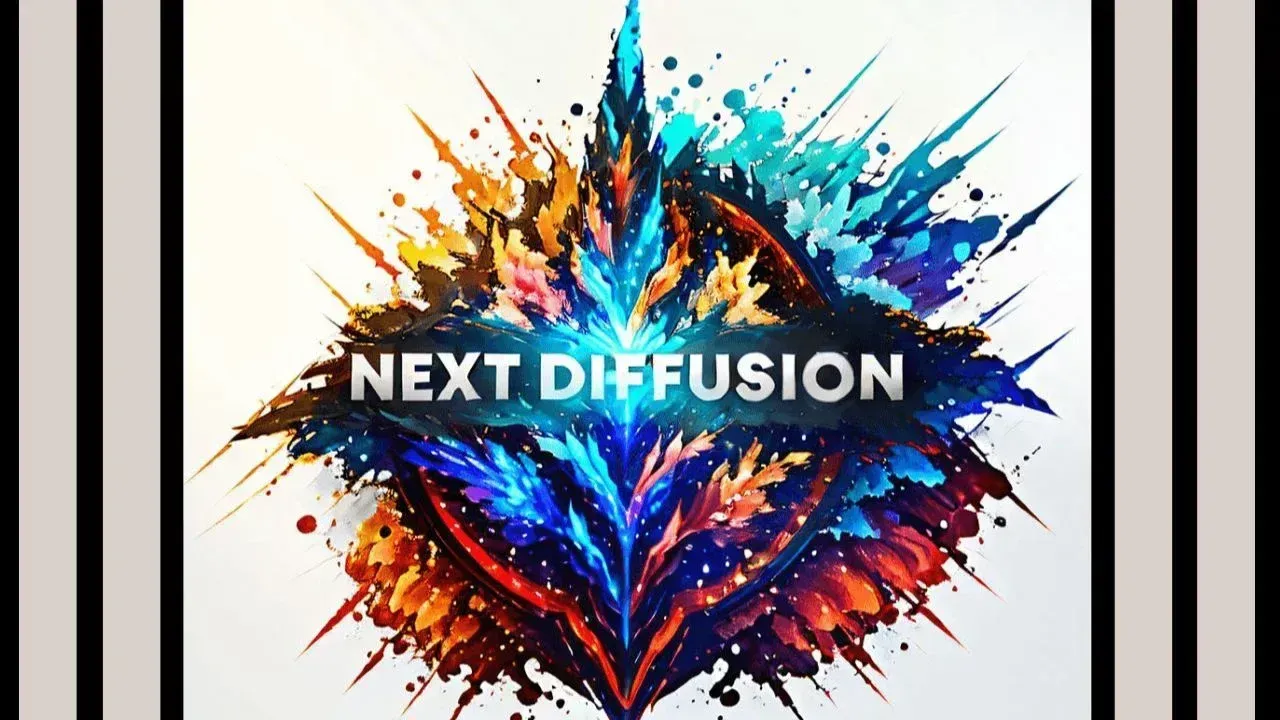
Table of Contents
1. Introduction
In today's digital landscape, the power of visual communication is paramount. Whether you are a business owner, a graphic designer, or a creative individual looking to express yourself, having the ability to create stunning logos and artwork is an invaluable skill. This blog post will guide you through the exciting world of Stable Diffusion, a groundbreaking tool that allows users to turn simple text prompts into captivating visual content. With step-by-step instructions, we will explore how to unleash your creativity and generate stunning logos that truly represent your vision.
2. Creating Your Input Image
Now that you have all the necessary tools, it's time to create your input image for ControlNet. Although I will demonstrate using Photoshop, feel free to use any software you are comfortable with. Follow these steps to prepare your image:
-
Open Photoshop and create a square canvas with a white background.
-
Use the text tool to write your desired text in white and position it as needed.
-
Apply an outline to the text using the Stroke option in Layer Styles.
-
Finally, save your square image as a JPEG or PNG file.
This input image will serve as the foundation for your logo, allowing Stable Diffusion to work its magic:

3. Downloading the Necessary Files (Stable Diffusion)
To start creating your logos with text you need a couple models. I will list all the models, LoRAs and checkpoints used here. It's helpful to download these before we begin making logos in Stable Diffusion.
4. Stable Diffusion Settings
To start our logo creations we need to set our Stable Diffusion settings. You can ofcourse change all of these settings and play around to see what works best for you.
-
Checkpoint: I Used the dreamshaper checkpoint but almost all of the checkpoints work really well.
-
Prompts: Your prompts are the most important in all of this process. Make sure you enter a good prompt to get a good output. I recommend browsing the CivitAI Logo page and look for images that you like, from there you can adjust the prompt to your liking. Alternatively you can visit our free prompt generator for awesome creative prompts. Don’t forget to add the LoRA to your positive prompt.
-
Sampling Method: DPM++ 2M Karras is a good sampling method for logo creations as the steps get smaller near the end and improve the quality of the image.
-
Sampling Steps: I recommend a minimum of 25, you can increase this value for better quality.
-
Width & Height: If you are creating a logo make sure that both values are the same, either use 512x512 or 768x768 since most checkpoints are trained on this aspect ratio. You can always upscale your logo later with the Ultimate SD Upscale Script.

5. ControlNet Settings (Line Art)
Now, let's move on to using the stable diffusion web interface.
-
Open the ControlNet interface.
-
Drag and drop the image we created earlier into the ControlNet interface.
-
Set the control type to "Line Art" to optimize the model for logos and similar graphics.
-
Set the Preprocessor to “Invert”.
-
Enable ControlNet and set it to "Pixel Perfect".

6. Logo Art Examples in Stable Diffusion
Behold the magic of Stable Diffusion! Explore awe-inspiring logos crafted with AI brilliance. Unleash your creativity with these stunning examples.
![]()
7. Conclusion
Congratulations! You have successfully mastered the art of creating captivating logos and artwork using Stable Diffusion and ControlNet. Throughout this guide, we explored the critical tools, settings, and creative processes required to transform simple text prompts into visually compelling logos. The possibilities are endless, and with practice, you can continuously refine your skills to push the boundaries of creativity.


