Consistent Pose Changes Using Qwen Image Edit 2509 & ControlNet (ComfyUI)
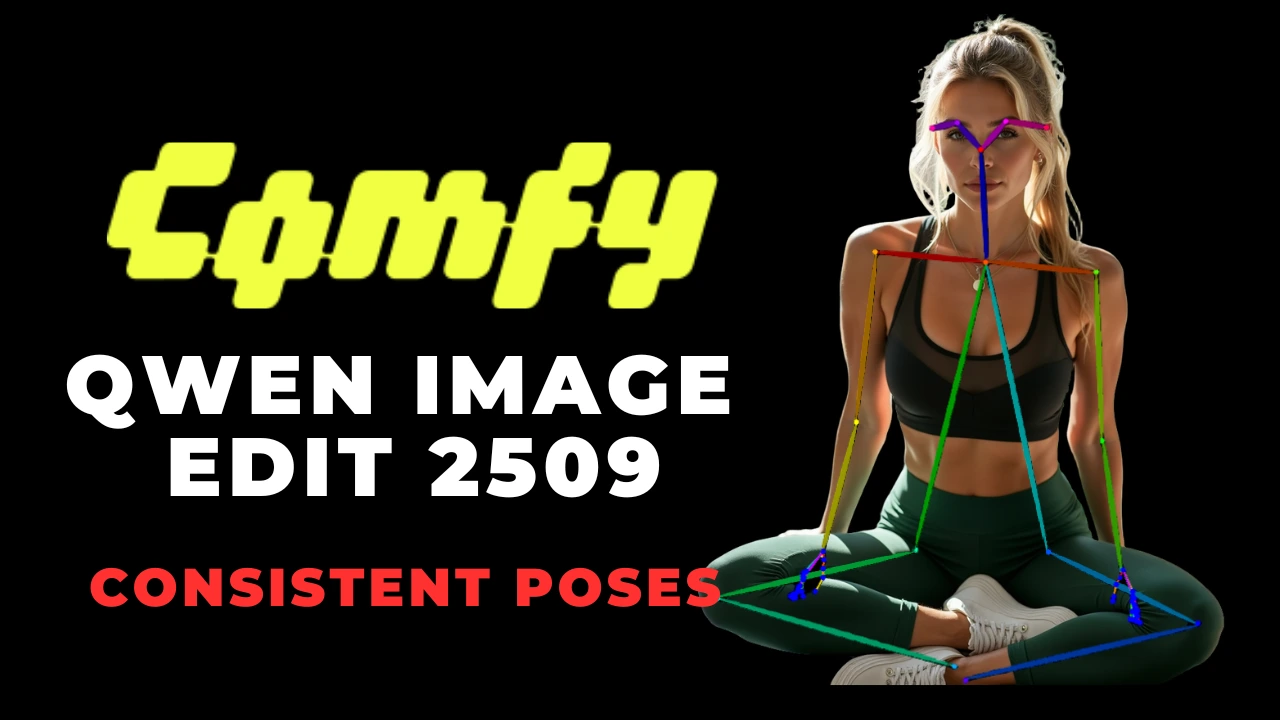
Table of Contents
1. Introduction
Consistent poses are key to re-positioning characters while keeping their identity, style, and background intact. This tutorial will show you how to use Qwen Image Edit 2509 with ControlNet Union (InstantX) and DWpose in ComfyUI.
While Qwen Multi-Image Editing focuses on editing or blending images, pose editing has a different goal: keeping the subject and scene intact while only changing the pose. Prompting alone can work, but using a control image for the target pose delivers far greater consistency—ensuring proportions, limb placement, and orientation remain accurate.
With Qwen Image Edit 2509 and ControlNet Union, you can adjust poses—whether raising an arm or shifting body orientation—while preserving style, lighting, and identity.
This guide covers the requirements, setup, and workflow for pose editing in ComfyUI so you can confidently re-pose characters and keep your images clean, consistent, and natural.
2. Requirements for Qwen Pose Editing with ControlNet Union
Before you begin setting up Qwen Pose Editing, ensure that your ComfyUI environment is properly configured. This involves installing ComfyUI and preparing the required model files (base Qwen image edit models and the InstantX ControlNet Union file).
Requirement 1: Use ComfyUI on a GPU Provider
You’ll want to run ComfyUI on a powerful GPU — ideally RTX 5090 for higher-resolution pose editing, though RTX 4090 can work (typically up to 720×720 before OOM errors).
For a practical guide on installing and running ComfyUI with network volume on RunPod (including Sage Attention setup), check out the tutorial below:
Run ComfyUI with Sage Attention on RunPod (Network Volume Setup)
Requirement 2: Download Qwen Model Files + ControlNet Union
Next, you need to download the necessary Qwen model files and the ControlNet Union. Ensure that these files are placed in the correct folders within your ComfyUI installation. This step is essential for establishing a stable base for consistent pose editing.
| File Name | Hugging Face Download Page | ComfyUI Directory |
|---|---|---|
| qwen_image_edit_2509_fp8_e4m3fn.safetensors | Download page | ../ComfyUI/models/diffusion_models/ |
| qwen_image_vae.safetensors | Download page | ../ComfyUI/models/vae/ |
| qwen_2.5_vl_7b_fp8_scaled.safetensors | Download page | ../ComfyUI/models/text_encoders/ |
| Qwen-Image-Lightning-4steps-V1.0.safetensors | Download page | ../ComfyUI/models/loras/ |
| Qwen-Image-InstantX-ControlNet-Union.safetensors | Download page | ../ComfyUI/models/controlnet/ |
Requirement 3: Verify Folder Structure
ts1📂 ComfyUI
2└── 📂 models
3    ├── 📂 diffusion_models
4    │   └── qwen_image_edit_2509_fp8_e4m3fn.safetensors
5    ├── 📂 vae
6    │   └── qwen_image_vae.safetensors
7    ├── 📂 text_encoders
8    │   └── qwen_2.5_vl_7b_fp8_scaled.safetensors
9    ├── 📂 loras
10    │   └── Qwen-Image-Lightning-4steps-V1.0.safetensors
11    ├── 📂 controlnet
12    │   └── Qwen-Image-InstantX-ControlNet-Union.safetensors
By ensuring all these files are in the correct folders, you’ll have a stable base for consistent pose editing.
3. Downloading and Loading the Pose-Editing Workflow
Once your requirements are ready, the next step is to download and load the pose-editing JSON workflow into ComfyUI. This workflow is designed to streamline the process of pose editing, making it easier for you to achieve the desired results.
Step 1: Download the Workflow File
Start by obtaining the JSON workflow built specifically for Qwen Image Edit 2509 + ControlNet Union (InstantX). This workflow already includes nodes for both Qwen editing and ControlNet pose guidance. You can find the download link for the Pose-Editing Workflow JSON in the resources section of this tutorial.
👉 Qwen Image Edit 2509 + ControlNet Union (InstantX) Workflow JSON
Step 2: Load Workflow in ComfyUI
After downloading the workflow file, the next step is to load it into ComfyUI. Simply drag and drop the JSON file onto the ComfyUI canvas.

This action will automatically load all the necessary nodes required for pose editing.
Step 3: Verify Model Connections
Once the workflow is loaded, it’s essential to verify that all model connections are correctly established. Check the following connections:
-
Diffusion model → qwen_image_edit_2509_fp8_e4m3fn.safetensors
-
VAE → qwen_image_vae.safetensors
-
Text Encoder → qwen_2.5_vl_7b_fp8_scaled.safetensors
-
LoRA → Qwen-Image-Lightning-4steps-V1.0.safetensors
-
ControlNet → Qwen-Image-InstantX-ControlNet-Union.safetensors
If any node appears red or is missing, use the Node Manager to install the missing custom node and restart ComfyUI to ensure everything is functioning correctly.
4. Setting Up and Running Your First Pose Change
Now that you have your workflow loaded and verified, it’s time to set up and run your first pose change. This step is where the magic happens, allowing you to manipulate your character’s pose while maintaining the integrity of the original image.
First, make sure to load the required models — UNET, CLIP, and VAE — along with the Lightning 4 Steps LoRA. These are essential for fast, high-quality pose editing. The initial image you upload defines both the output size and aspect ratio, so it should be a clean, high-quality image. Recommended dimensions are:
-
Square: 1024 × 1024
-
Portrait (9:16): 720 × 1280
💡 The workflow preserves the exact size and ratio of your initial image throughout generation, so starting with a strong base is important.
Positive Prompt
In the Positive Prompt section, describe what you want the model to do with your initial image. For this workflow demo, we’re focusing only on changing the pose — not altering clothing, hair, or environment. A good example prompt would be:
Keep her outfit exactly the same. Do not change her hair. Do not modify the background scene. Keep everything else identical — only adjust the pose according to the reference.
ControlNet & Pose Settings
Within the ControlNet settings group, upload a pose reference image. The resolution of this image doesn’t matter — it will automatically be converted into a stick-figure skeleton, which acts as a pose guide for the generation.
In the Apply ControlNet node, the Control Strength is set to 1.80 by default. This is a good balance between following the pose accurately and keeping the original details intact.
✨ Lower values give the model more freedom but can cause the pose to be less precise. Higher values enforce the pose more strictly.
DWPreprocessor (DWPose Estimator)
Inside the DWPreprocessor, you can choose which parts of the pose to detect:
-
Body
-
Hands
-
Face (optional)
Enabling face detection will also track facial landmarks from the pose reference image. This can make the generated face slightly follow the reference’s structure.
⚠️ Disable face detection if you want to preserve the subject’s original facial structure more closely.
There’s also a Resolution section here. Make sure to match this resolution to your original input image. For example, if your uploaded image is 1024×1024, set the DWPreprocessor resolution to 1024 as well.
📐 This ensures that the stick-figure pose is drawn accurately on the same canvas size, aligning perfectly with your original image.
⚙️ KSampler Settings
For the KSampler node, use the following recommended settings:
-
control_after_generate: randomize
-
Steps: 4 (optimized for Lightning 4 Steps LoRA)
-
Sampler: Euler
-
Scheduler: Beta
-
Denoise: 1
📝 These values are a solid starting point for quick and clean pose transfers.
With these settings and prompt in place, you’re ready to run your first pose change. The workflow will maintain your original image’s size and quality, apply the reference stick-figure pose, and produce a clean, controlled pose transformation without altering other key elements.
5. Qwen Pose Editing Examples
To better understand the capabilities of Qwen Image Edit 2509 with ControlNet Union, let’s explore some practical examples of pose editing. These examples will illustrate how you can effectively change poses while maintaining the character's identity and the overall composition of the image.
Example 1: Side Front View Pose Change

Example 2: Front View Meditation Pose Change

Example 3: Front View Arm Pose Change

Example 4: Dynamic Pose Change

Example 5: Side View Stretching Pose

Example 6: Front View Dynamic Pose

Example 7: Back View Pose

Example 8: Back View Dynamic Pose

6. Conclusion
With Qwen Image Edit 2509 and the InstantX ControlNet Union, you can adjust poses while preserving the subject’s original style, background, and identity. This workflow works well for character re-posing, animation, storyboarding, and maintaining visual consistency across shots.
By balancing pose strength, prompt design, you can achieve clean pose edits without losing quality. Keep in mind that DW Pose Estimation isn’t always perfect — sometimes the reference pose may not convert correctly into a stick figure. If this happens, try a different reference image. Even so, this workflow gives you more control over the subject’s pose without changing clothing, background, or style.
If you want to expand beyond single-image editing, we recommend reading our full tutorial on Qwen Multi-Image Edit 2509 below:
👉 How to Use Qwen Multi-Image Edit 2509 in ComfyUI.
Thanks for following this tutorial! Hopefully, these techniques help you achieve consistent and polished pose changes for your projects, social media, or creative work.


